Convert an SQL file into a template
In this tutorial, you will transform an existing sql file into a template. Let’s get started!
For this you can use your favorite IDE environment, for example Visual Studio
Arrange
Let’s select a simple SQL-script, which we will convert into a template.
USE ROLE                  IDENTIFIER('SECURITYADMIN');
CREATE USER IF NOT EXISTS IDENTIFIER('SNOWFLAKE_USER')
  PASSWORD             = '*****'
  COMMENT              = 'ADM account'
  LOGIN_NAME           = 'SNOWFLAKE_USER'
  DISPLAY_NAME         = 'SNOWFLAKE USER'
  MUST_CHANGE_PASSWORD = FALSE
  DEFAULT_ROLE         = 'PUBLIC'
  EMAIL                = 'EXAMPLE_MAIL'
;
Act
Creating users is a frequent action. Instead of typing a USER script over and over again, a template can provide a bit of efficiency gain. Take the following SQL file to create a user. We take this script as starting point to transform into a template.
Derive variables from SQL example
We parameterize the following SQL script as follows:
USE ROLE                  IDENTIFIER('SECURITYADMIN');
CREATE USER IF NOT EXISTS IDENTIFIER('SNOWFLAKE_USER') (1)
  PASSWORD             = '*****'
  COMMENT              = 'ADM account' (2)
  LOGIN_NAME           = 'SNOWFLAKE_USER' (1)
  DISPLAY_NAME         = 'SNOWFLAKE USER' (2)
  MUST_CHANGE_PASSWORD = FALSE
  DEFAULT_ROLE         = 'PUBLIC'
  EMAIL                = 'EXAMPLE_MAIL' (3)
;| Initial value | Parameter name |
|---|---|
<1> 'SNOWFLAKE_USER' |
var_user_name |
<2> 'SNOWFLAKE USER' |
var_display_name |
<3> 'ADM account' |
var_user_cmt |
<4> 'EXAMPLE_MAIL' |
var_user_email |
| We have a set of best practises how to develop an robust SQL template. These are found in [How-to: develop templates] |
Create configuration file with variables
We convert the previous SQL-script as follows:
{
  "template": "create_named_user.sql.j2", (1)
  "vars": (2)
    {
      "var_user_name": "SNOWFLAKE_DEMO_USER", (3)
      "var_display_name": "Snowflake demo user",
      "var_user_cmt": "ADM account",
      "var_user_email": "info@acheron.cloud"
    }
}| 1 | Describe which template the configuration belongs to |
| 2 | Add a "var" list, where you can add your variables |
| 3 | Add your variables which can be used by the template |
Create template file with variables
A template file will be the sql script, with the variables replaces by our config variables
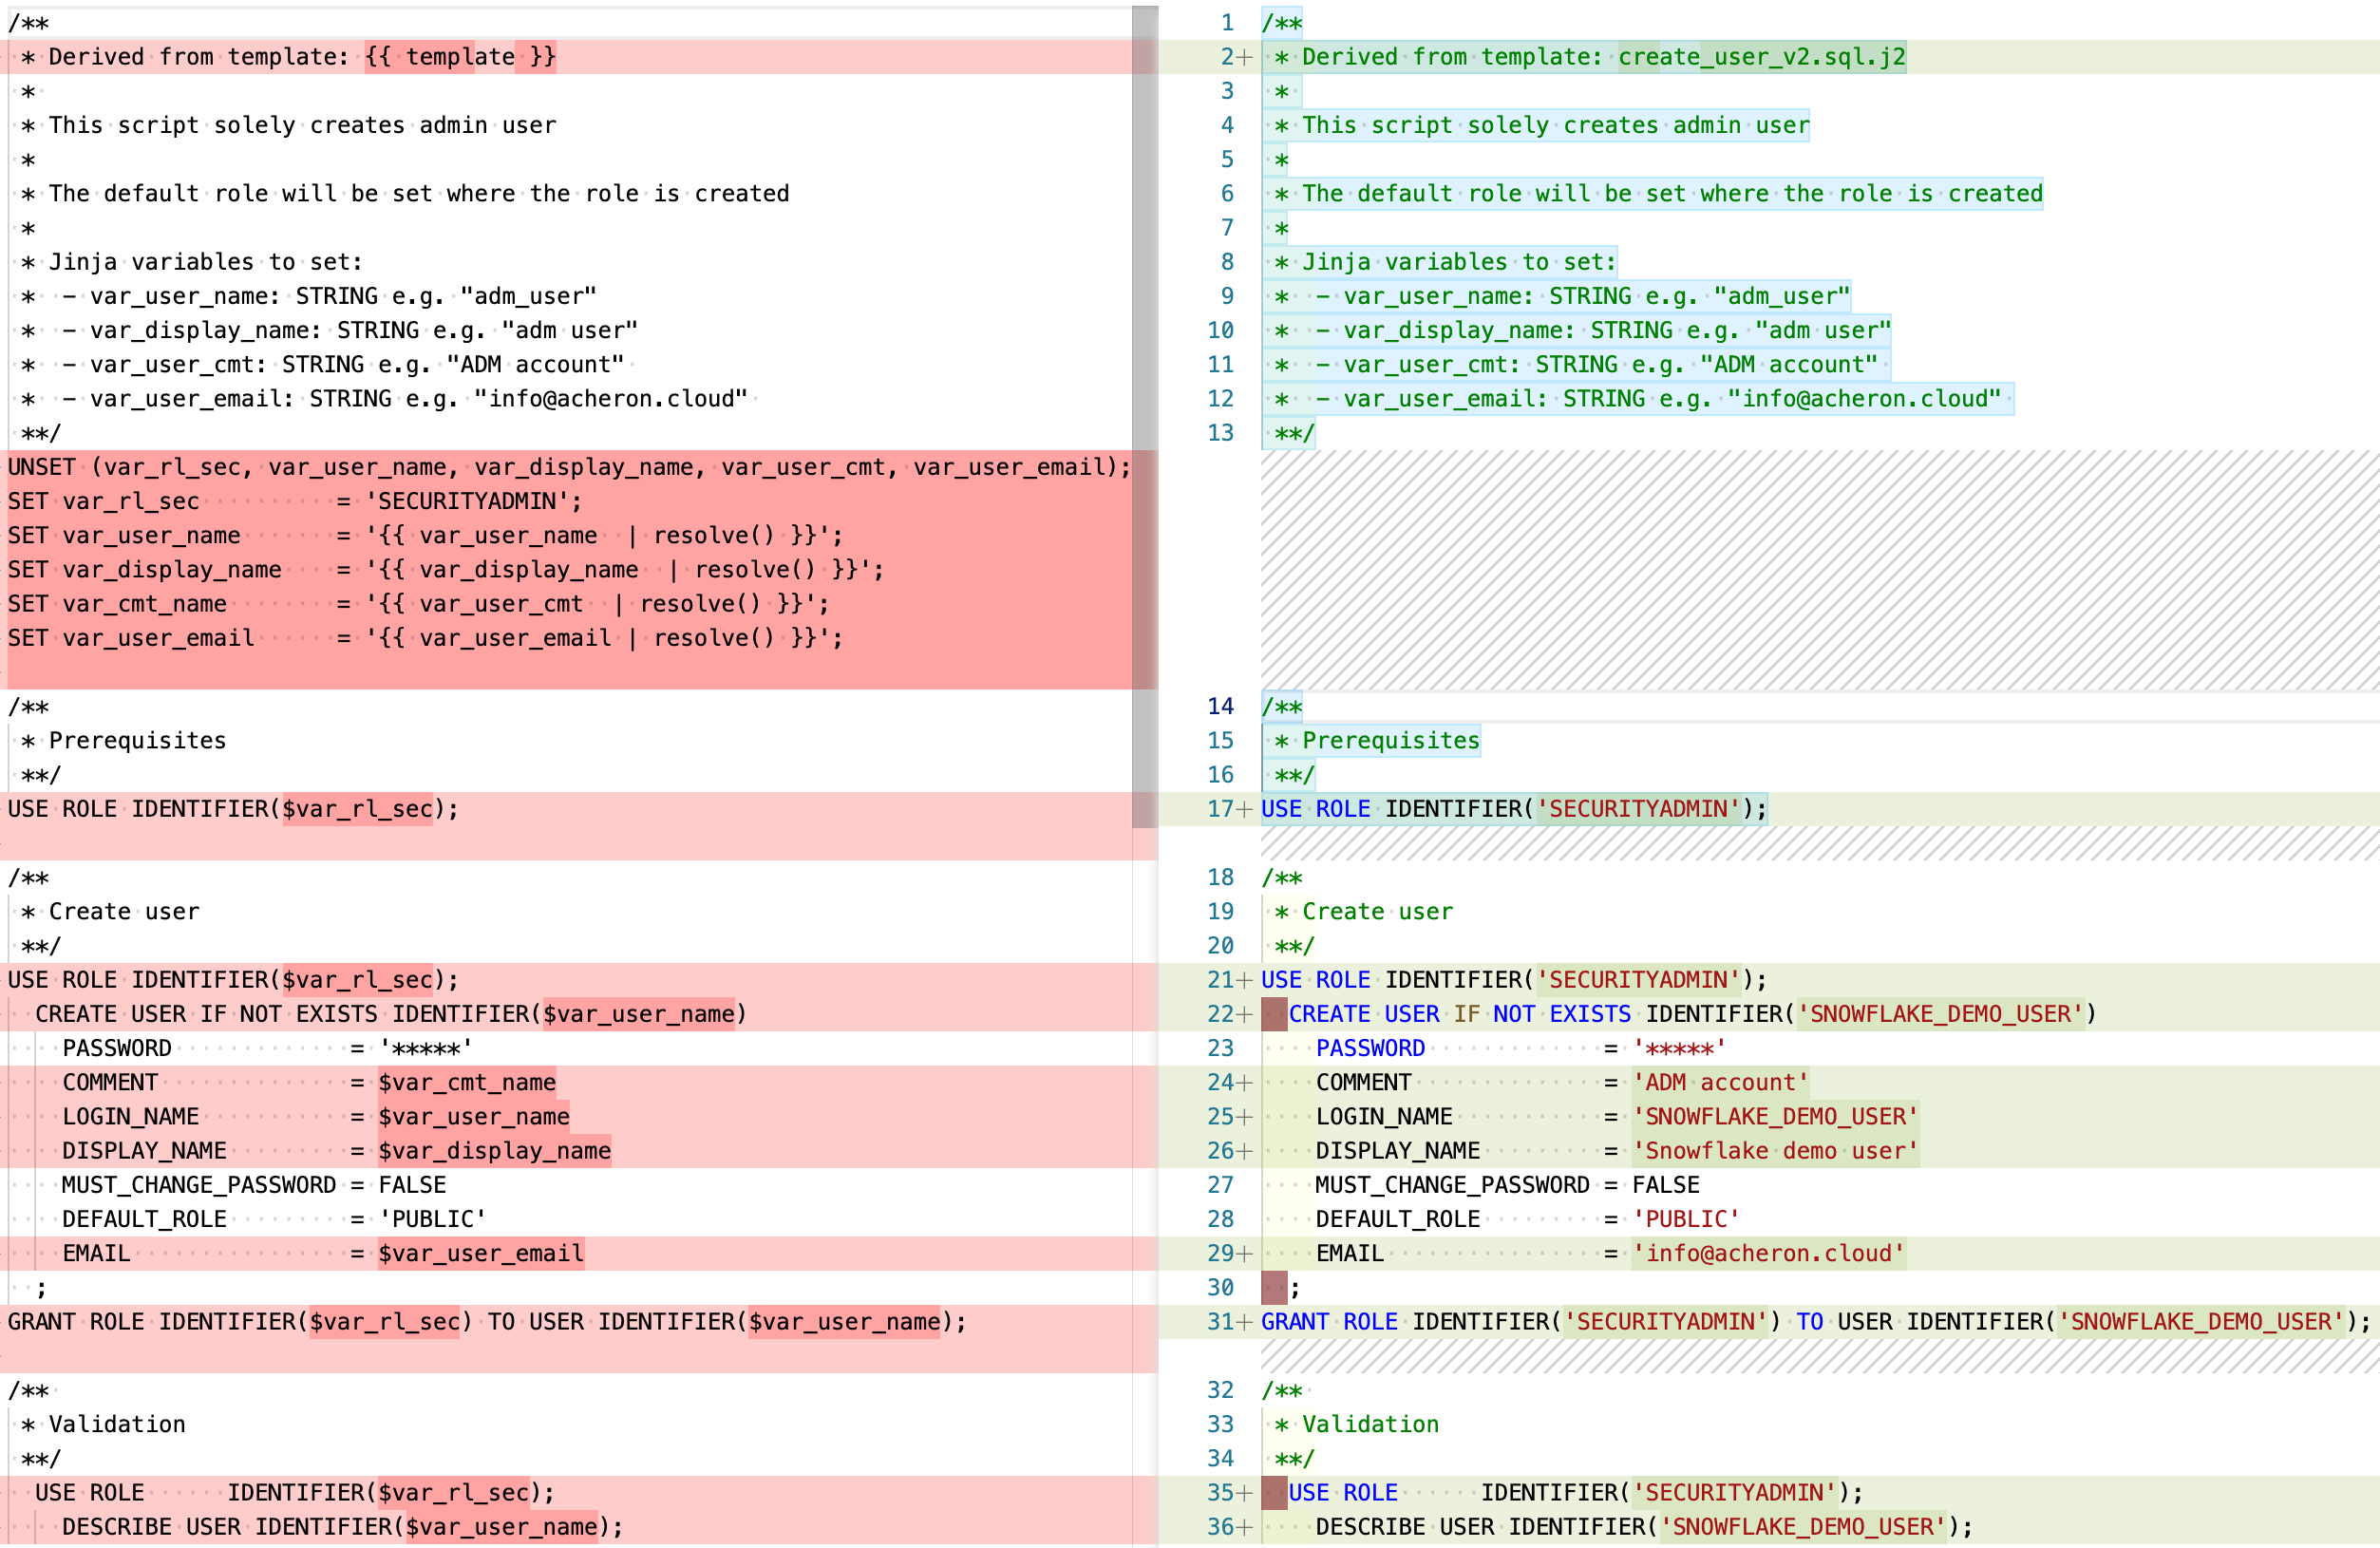
/**
 * Derived from template: {{ template }}
 *
 * This script solely creates admin user
 *
 * The default role will be set where the role is created
 *
 * Jinja variables to set:
 *  - var_user_name: STRING e.g. "adm_user"
 *  - var_display_name: STRING e.g. "adm user"
 *  - var_user_cmt: STRING e.g. "ADM account"
 *  - var_user_email: STRING e.g. "info@acheron.cloud"
 **/
UNSET (var_rl_sec, var_user_name, var_display_name, var_user_cmt, var_user_email);
SET var_rl_sec          = 'SECURITYADMIN';
SET var_user_name       = '{{ var_user_name  | resolve() }}';
SET var_display_name    = '{{ var_display_name  | resolve() }}';
SET var_cmt_name        = '{{ var_user_cmt  | resolve() }}';
SET var_user_email      = '{{ var_user_email | resolve() }}';

/**
 * Prerequisites
 **/
USE ROLE IDENTIFIER($var_rl_sec);

/**
 * Create user
 **/
USE ROLE IDENTIFIER($var_rl_sec);
  CREATE USER IF NOT EXISTS IDENTIFIER($var_user_name)
    PASSWORD             = '*****'
    COMMENT              = $var_cmt_name
    LOGIN_NAME           = $var_user_name
    DISPLAY_NAME         = $var_display_name
    MUST_CHANGE_PASSWORD = FALSE
    DEFAULT_ROLE         = 'PUBLIC'
    EMAIL                = $var_user_email
  ;
GRANT ROLE IDENTIFIER($var_rl_sec) TO USER IDENTIFIER($var_user_name);

/**
 * Validation
 **/
  USE ROLE      IDENTIFIER($var_rl_sec);
    DESCRIBE USER IDENTIFIER($var_user_name);